Remembering the Past: The First Day I Got to Know Project T.M.

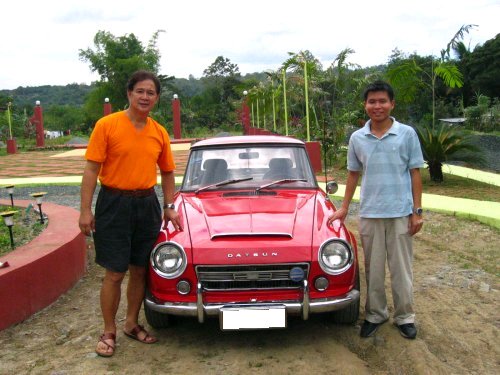
Me (with the HUGE grin) and the previous owner
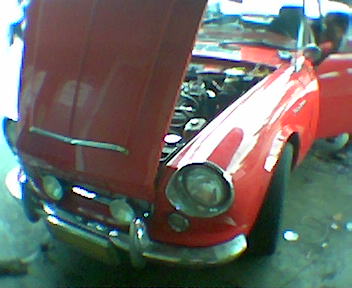
January 10, 2006 was the point of no return. This was the date I would be bringing home a 1965 Datsun Fairlady I named "Project T.M." I had the day all planned-out. In the morning, I would go to the bank to withdraw the needed funds. Then I'll proceed to Cubao to take the long commute going to Rizal province (I didn't have a co-driver lined-up at that time). When I get to the owner's house...I'll pay him my "dues," sign the papers and then, for lack of a better word, scoot! It's as simple as that.
As it turned out, it was much better than I had expected. My friend (thanks Mig!), who's also a car enthusiast, called me up and offered to drive the other car as I drove Project T.M. home. This was great indeed. I didn't have to take the long commute to Rizal while carrying all that cash in my pocket...a scary and risky afterthought. So I picked-up my friend, had lunch, and drove straight to the owner's house, which was forty-five minutes drive.
As we were entering the gate, there it was...the small "Coca-cola Red" roadster with the top down "sitting" on the driveway ready to be driven away by yours truly. The excitement was just unbearable! Fortunately, it only took about half an hour to draw up the deed of sale and have it signed. I even got see some of the restoration projects of the seller...I believe he had a Triumph TR3 and TR6, a Fiat Roadster with VW engine swap, an 80's TVR coupe, and a vintage race car with custom fiber glass body and a roll cage...not a bad collection indeed!
Well now comes the hard part...driving my newly acquired Fairlady home. It's roughly about a twenty kilometer drive through uneven, dusty, and pothole infested roads, not to mention bumper to bumper traffic and an ambient temperature that could let the asphalt fry some sunny side-ups along that way. This would probably bog down any forty one year old car, but hopefully not the one I'll be driving today...please!
The engine was purring like a sweet heart...no exhaust smoke...which is a good sign. First impression...the cockpit is a bit cramped and I had to contort to some degree to fit my already small frame into the seat and pedal positions. Then I engage first gear...well I try to anyhow. The gears are a bit hard to differentiate from each other...it seems third gear is first and reverse...well it's missing. But that's not the worst part...wait 'til you get to the brakes...well it's also missing! I kept pressing down on the brake pedal as hard as I could, but the brakes wouldn't freakin' engage! And that's just at 5 kmh! But finally I'm rolling down the road...slowly but surely. It was a good day to go driving...slightly overcast and a bit cool and windy. Traffic was moderate...not bad considering that the Fairlady had brakes similar to a pedicab with five people on it...scary man!
Well inch by inch...one kilometer after another...and a sore right foot after an hour of driving, I finally made it...but only just. I had my fair share of scary moments...especially when I almost T-boned another car when I was crossing an intersection desperately trying to avert a disaster by stepping on the brakes with all my might! But all in all, it was a good drive home...no freak accidents, collisions, injuries, and most important of all...my Fairlady made it without a hitch. I only had to refuel at a Petron station and that was it...no other stops on the way home. Mission accomplished! Or so I thought. Now the restoration begins!

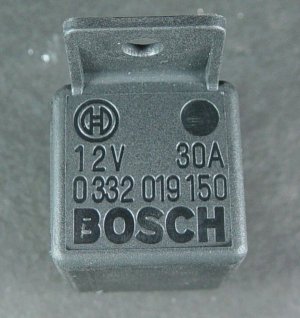
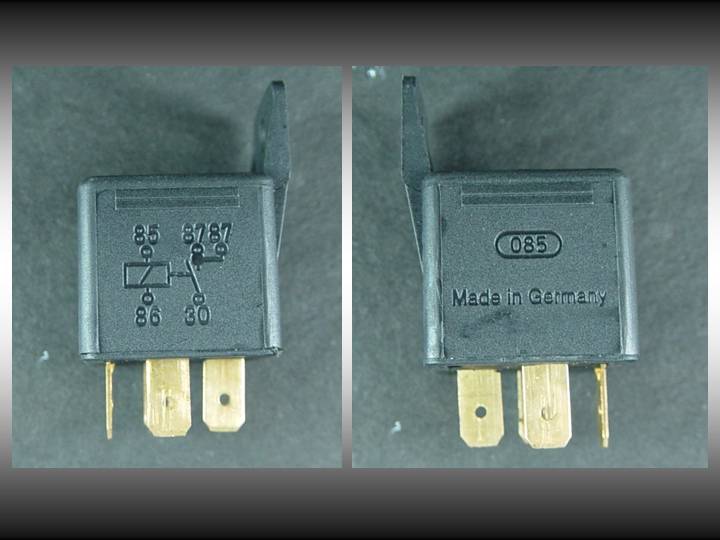
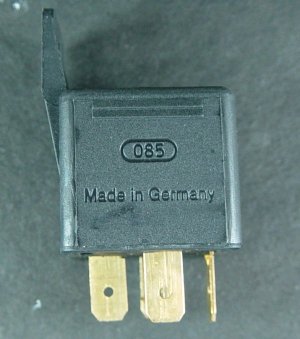 Here are some shots of the headlight relay I was talking about in my previous post. Yes it says "BOSCH" and "Made in Germany," but I'm not pretty sure about that. It's only been three months since the relay got bust and I haven't been using the Fairlady often. Another explanation is that the thing is defective, but with BOSCH quality at stake I doubt it. The plastic used looks and feels like it's from a toy that's made in China...LOW QUALITY. And the contact points are easily bent out of shape...it does come loose when conected (this is the reason why my low to high beam has been playing tricks on me a few weeks ago). The bad thing is that it seems that counterfeit replacement parts are becoming common in the auto supply market. This is indeed dangerous...imagine driving at 100 kph when the "fake" KYB suspension collapses! That'll make anyone's day...guaranteed. Safety first!
