Monday, March 13, 2006

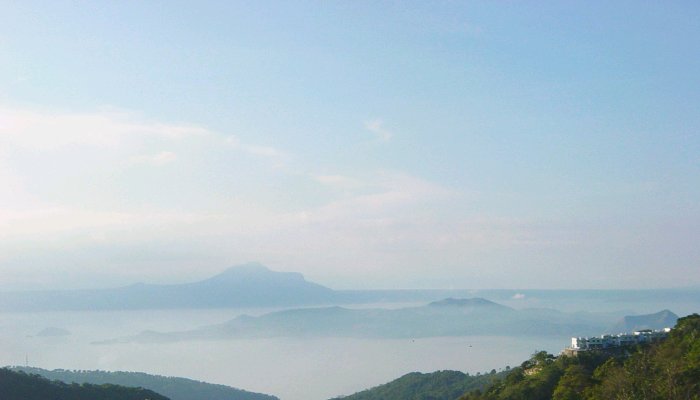
A nice view of Taal Lake on a sunny day


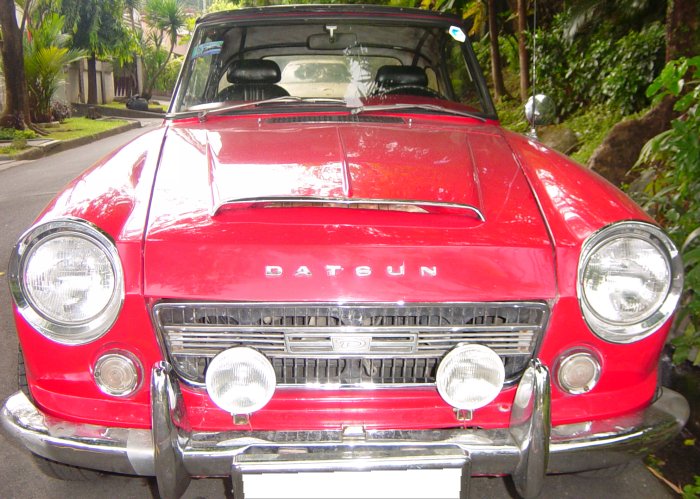
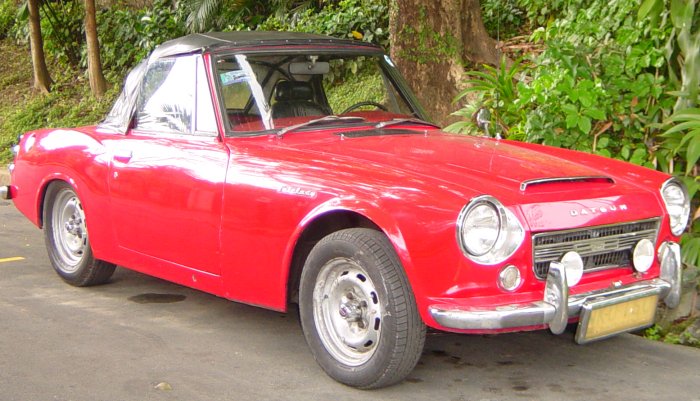
Project_timemachine safe and sound at home after a trouble free drive from Tagaytay :)

The place where we stayed for the night - Discovery Suites Tagaytay (I highly recommend their Tinapa Omelet)

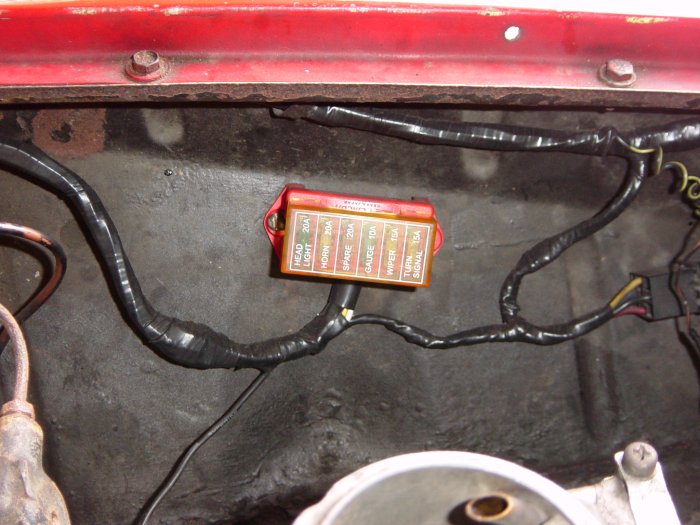
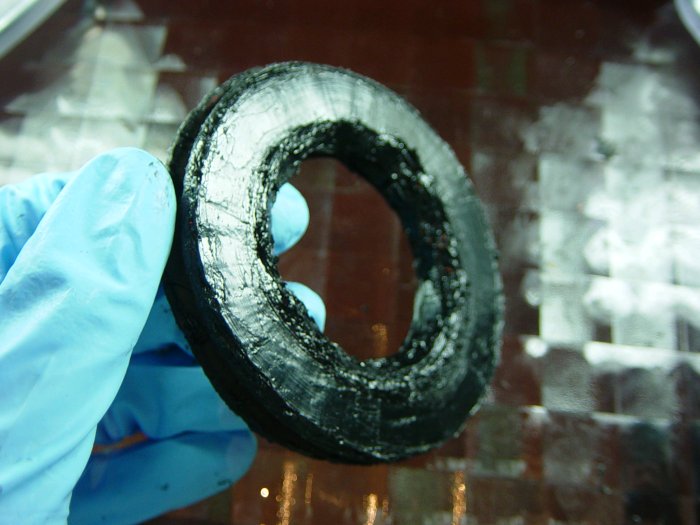
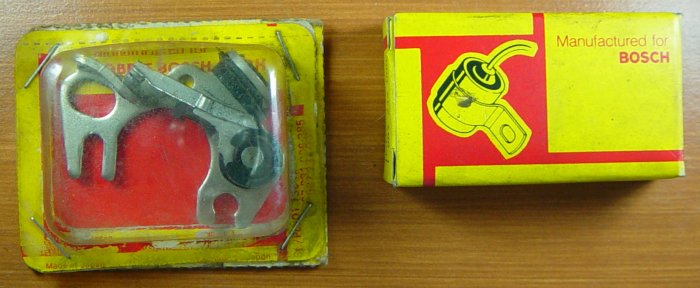
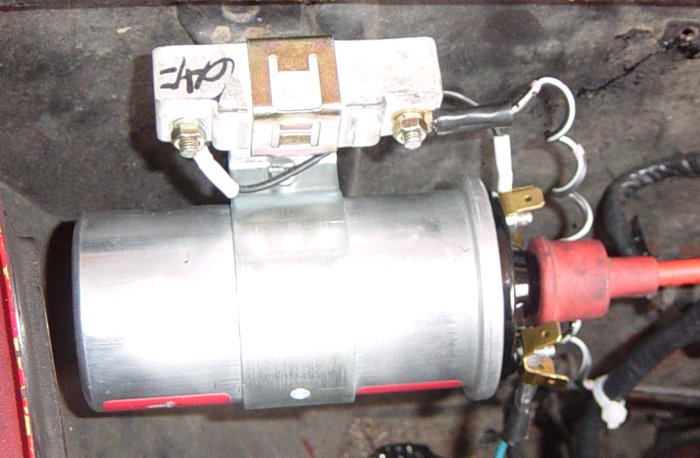
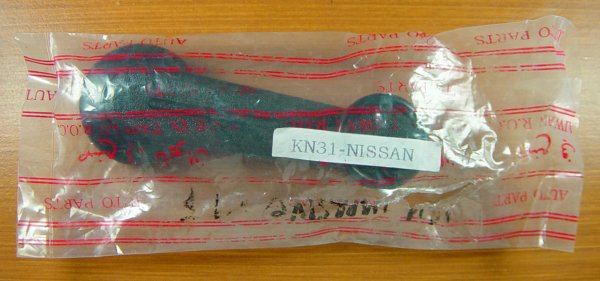
Spare ignition coil, contact point, and fuses...check. Rachet set, wrenches, and pliers...check. Spare tire, two liters of motor oil, brake fluid, and fire extinguisher...check. Fire extinguisher??? What the??? This might be overkill, but better to be sure than a roasted roadster...as I've heard.

It was 7 am when we left the house. Destination: Tagaytay. It was a beautiful day for top down motoring...the sun was out and not a cloud in sight. "Pre-flight check" routine: checked - coolant level in the radiator and reservoir, oil level, cooling system plumbing, brake and clutch fluid levels, high tension wires and distributor, and tire pressure)...no problems encountered. I lowered the soft top and with my favorite Tili hat on...I fired-up project_timemachine. Warmed up the engine for about three minutes and the idle settled into a silent low tone hum. What a perfect day it was.

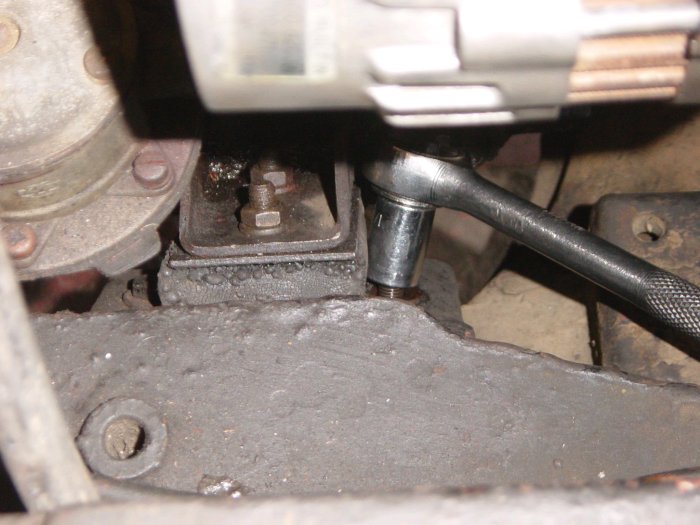
Filled-up the roadster to the brim with Shell's finest and made our way to Tagaytay (Dad riding shotgun and a chase car with Mom and Sis behind). We made our way to C5 nearing SLEX and I spotted a Karmann Ghia coupe parked at the emergency lane with its chase car behind...looks like engine trouble (the rear engine hood was open and the driver was tinkering something). I immediately checked the water temperature gauge...it read 190F...normal. I thought to myself, "That would definitely ruin a sunny day." Still we "marched on" to SLEX and then Sta. Rosa without incident. I kept my cruising speed at about 70 kph @ 2500 rpm so as not to stress the engine and tranny. Note: exhaust note was excellent...well balanced! The engine was strong and offered good pulling power on the slopes even in third. The cooling system, brakes, steering, and tranny all worked in perfect harmony. The steering was light, but firm. The brakes were hard, but had great feel. The tranny's synchros provided smooth shifting. Driving the roadster without a hitch was indeed a treat! Mission accomplished! The day couldn't have been any better. All those long hours of maintenance, head scratching, repairs, and some more head scratching was definitely worth it.

The view of the countryside from a top-down convertible was remarkably different and exhilarating. It offers a more involving driving experience. The rice fields and pine trees seemed nearer and greener and so did Taal Lake at the distance. The smell of fresh flowers from the flower stands along the streets constantly "greeted" us as we cruised by...these experiences are really better felt than explained.

Several enthusiast cars were also present and roaming about Tagaytay - a silver Porsche 911, a red 924, a pair of red Z3's, a couple of Bimmer sedans (including two 1984 E20 body two door sport sedans), and (icing on the cake) an immaculately restored 1950's turquoise MGA complete with chromed luggage rack at the back...too bad it wasn't a chick driving ;)

All in all...that was one heck of a drive! Project_timemachine passed with flying colors! :)

Friday, March 10, 2006


Added some more pictures of the restoration work:

1. New Fuse Box - The original fuse box was destroyed during the rewiring of the roadster... I couldn't find the OEM locally so I just opted for the next best thing - a Japanese replacement from Circuit. The good thing is that the fuses used on the Circuit fuse box is the newer blade type fuse rather than the "primitive" cartridge ones.


2. Idler Arm - Note the temporary plastic grease cover (from a soda bottle)...to prevent water from coming into the idler arm and damaging the new alloy bushings (yes I know its ugly, but it works so I'm not complaining...currently looking for a better looking replacement)


3. Distributor - The cam seems to have an uneven lobe as pointed out by the mechanic...I'm thinking of replacing the distributor with an electronic ignition system from Nissan. But so far I'm satisfied with its performance (new contact point and condenser).

Wednesday, March 08, 2006


Restoration Update:
(Posted various pictures)

Last week, I tried to replace the fuel-filler neck groumet, since it was really worn-out. But the problem (again) is the availability of the parts. So as a temporary measure I decided to just refurbish it using Pioneer's Black RTV Silicone (wonderful stuff!) to reinforce the old rubber and greatly improve its fit unto the fuel-filler neck. This will prevent the rear fender well from flooding (hopefully!) when the rain inevitably catches up with the roadster.

I also took a picture of that weird Bosch box (for the condenser), which is made in Japan! I thought back then in the 70's all Bosch parts were from Germany...I guess not. Japanese parts rule! :) Now I have a collection of vintage auto parts boxes lying around the storage...probably most of them are older than me :)

I also posted a picture of the locally made hard-to-find rubber boot (Part number: RP-TCL-VW-303) I found during my scavenging adventures. It did fit nicely unto the ball-joint and tie-rod. I was afraid I had to buy a new set of ball-joints and tie-rod ends, but luckily I found these babies gathering dust in an auto supply store...cheap too! I bought eight pieces, but I'll be back for more! I should be gathering up as much spare parts as I could find, especially when the supply of these parts are getting harder and harder to find...and becoming pretty expensive too :)

Tuesday, March 07, 2006


Engine Support Repair

Yesterday, as I was checking the engine bay for "anomalies" like loose nuts, leaks, cracks, etc., I happen to glance at the passenger side engine support. I noticed that one of the bolts was protruding so I got my rachet set and proceeded to tighten the pesky bolt. The darn thing wouldn't tighten so I took it out and inspected for wear. As it turns out, there's damage not only on the threads of the bolt, but also on the threads of the nut on the underside of the engine support.

The bolt is easy to replace...the problem lies in the nut, since it's fixed and cannot be removed/replaced. I decided that a longer bolt and another nut would fix the problem so I took some "crude" measurements and went down to the auto supply store. This bolt is really giving me a headache...even the auto supply store had a hard time finding the right "fine-threaded" one. Back at home with the needed extended bolt and nut, the installation became a nightmare. I had to crawl under the roadster to get the new nut screwed unto the longer bolt. After several tries still no use. The rachet is useless, since it couldn't fit into the small space (smaller than my fist) of the engine support bracket. Then I used an assortment of box wrenches trying to tighten that stubborn nut. Still no use. I needed a size 13 wrench for the nut, but all I had was 12, 14, and a "destructive" pair of pliers. These size 13 wrenches are as hard to find as roadster parts. It was really tempting to use that pair of pliers! That would have definitely "wasted" the sides of the nut. Finally in desperation I asked our family driver if he had one. After a minute and a half he came back and placed a size 13 wrench on the palm of my hand! Darn it! If only I had asked an hour ago! For the last time I crawled back into that quite claustrophobic space and finally was able to tighten the nut. I also tightened the other engine support nuts just to be safe. What a day its been...just for that nut and bolt! I'm keeping the size 13 wrench for myself :)

Monday, March 06, 2006


New Bosch Ignition Coil Installed
(I also posted part of the wiring diagram showing the external resistor and coil - from www.311s.org, a good resource site for roadster restoration)

Finally, I was able to have the new Bosch coil installed along with its (very very important!) external ballast resistor. I also had the carburetor calibrated again to smoothen out the backfire problems at idle. The mechanic also used a dwell meter, which he attached to one of the high-tension wires leading to one of the spark plugs. Initial readings on the meter show that the dwell is only at 38-39. This explains why the engine has been misfiring at high rpm. So the mechanic adjusted the cam angle to 45 (the optimum range for dwell is from 40-50 as explained by the mechanic). During the road test, I noticed that engine response and torque did improve, which resulted to better shift points. Driving the Fairlady is much easier and predictable. I don't have to change gears (usually 2nd and 3rd gear in traffic) often to prevent the engine from sputtering. Now the roadster is much better to drive and "very" tempting to test to the limit :)

Last night I was able to test the reliability of the newly installed Bosch coil and so far no problems even at low rpm where there's a tendency for these kinds of coils to heat up rapidly. I think the resistor is doing its job preventing the coil from overheating during idle :) But I'll be keeping a spare ignition coil just in case...

Thursday, March 02, 2006


New Bosch Ignition Coil

Today I bought a new Bosch Ignition Coil with an external resistor. It turns out that I've been running the roadster without a ballast resistor! I had to learn the hard way when I installed a new ignition coil (also Bosch - color code is blue) and after driving the Fairlady for about 20 minutes the engine died...it quit completely and wouldn't restart. I was left stranded along C5 - Kalayaan at around 5:30 pm. Luckily there weren't any patrol cars or MMDA tow trucks around, but it was getting dark. I called up the family driver and had him bring the old Bosch ignition coil. I also called-up the towing service (MAC) just to be sure...the roadster might need to be towed if all else fails. Both arrived at around 6:45-7 pm...luckily no incidents as I've been told that that area was a bit dangerous. Anyway, one traumatic incident happened before the driver and the MAC tow truck arrived. I was sitting inside the roadster when all of a sudden I smell burnt rubber. I thought it was from another source (other than my car) when all of a sudden the engine compartment was belching out thick black smoke! I thought the car was on going to roast!!! It wasn't funny at the time, but I was actually prepared to take off my shirt and "exstinguish" the flames! :) I popped the hood and the smell of burnt rubber immediately filled the surrounding air. Quite traumatic indeed! I quickly got my flashlight (a real lifesaver) and saw that the ignition coil had been turned into some sort of black "rubbery" goo...thank God no fire...really!!! I had the coil replaced with the old "trusty" one and the roadster came back to life without hesitation...no need for a tow truck :) A lot of angels must have been there with me :) I'm greatful indeed!

So the moral of the story is...always use a resistor for your ignition coil! The one that I bought has part number: 0-221-119-030/KW12V (made in Brazil) and is color coded red. I also downloaded the original wiring diagram for a 1965 SPL311 and indeed there's supposed to be an external resistor connected to the coil. I'll have the coil and resistor wired up on Saturday. Hopefully this will solve the "over-heating" problem of the coils. Keeping my fingers crossed!


New Window Risers (not OEM, but it'll suffice)

Yesterday I bought a pair of window risers to replace those "glaring" ones installed by the previous owner. I wasn't able to find chromed ones (like the OEM risers) that would fit the roadster (I had the shop try all possible window risers) so I just bought the next best thing - plastic risers in "standard black." At least it's not "bling-bling-ish" when compared to the old ones (those annodized blue handles are just not my taste). Plus, the old ones have been eating away at the teeth where the window risers are attached. The window risers I bought are also for Nissan, with part number: KN31 as can be seen in the picture. I didn't use the locking pins anymore, since the new risers are short of the shaft where it's supposed to be locked in place. So what I did was I applied epoxy unto the teeth of the windor riser shaft to make a permanent solution. Anyway I'm not planning to have the window mechanism replaced in the near future. If ever there's a need, then the new risers would just have to be torn apart...disposable parts (cost per window riser is P100 @ AutoCentro). Now I'll have to wait 72 hours for the epoxy to cure.